
Peugeot Traveller Insect Screen – Side/Rear
Code: 750/STA 750/STA2 750/DEL2 750/EXC2 Choose variant_en.gif?65e3d4d9)
_en.gif?65e3c712)
_en.gif?65e3d17b)
_en.gif?65e3cd10)
Product detailed description
Insect screens for both the rear tailgate and side sliding doors of Peugeot Traveller are designed to maintain comfort and natural ventilation while camping, while keeping insects outside. When sleeping or relaxing with the doors open, ordinary nets are often not enough – this version is tailored specifically to the door shape of this model.

Rear screen versions:
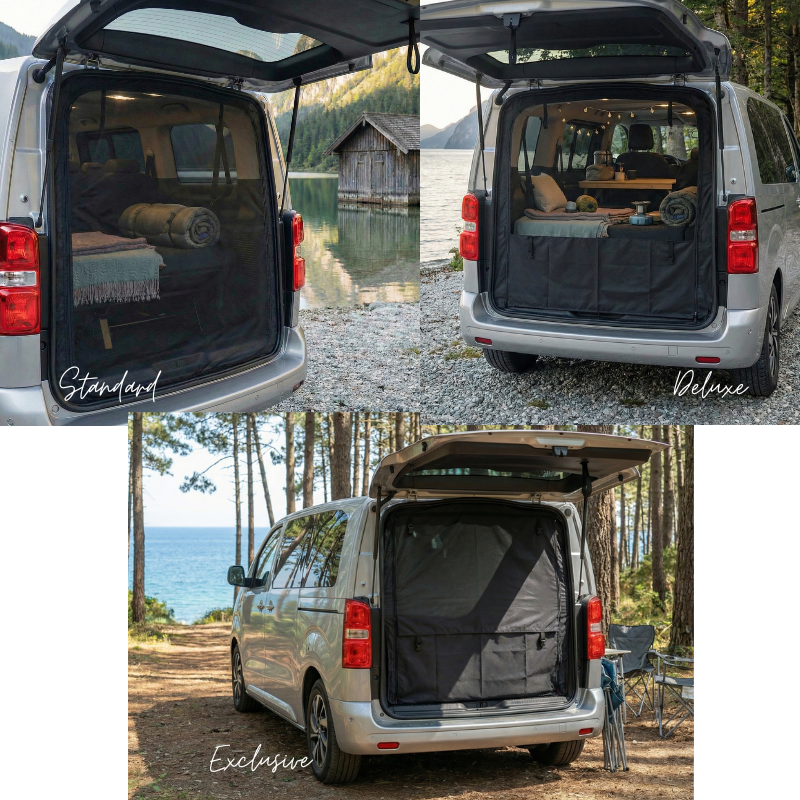
The rear-door insect screen is available in three carefully designed versions, each with different uses and benefits:
• Standard – full-door mesh screen
✔ basic insect protection
✔ maximum airflow and light transmission
✔ ideal for regular summer travel and camping
• Deluxe – mesh screen with lower storage-area cover
✔ additional coverage of the lower rear-door area
✔ more privacy and protection of your equipment from outside views
✔ while cooking or handling gear, the lower section can be opened while the insect screen remains closed
• Exclusive – Deluxe with thermal cover
✔ all the benefits of the Deluxe version
✔ added insulation to reduce heat loss – suitable for colder nights and year-round use
✔ the insulating cover can be rolled up, allowing the screen to function as a simple insect screen in summer
Side screen version:
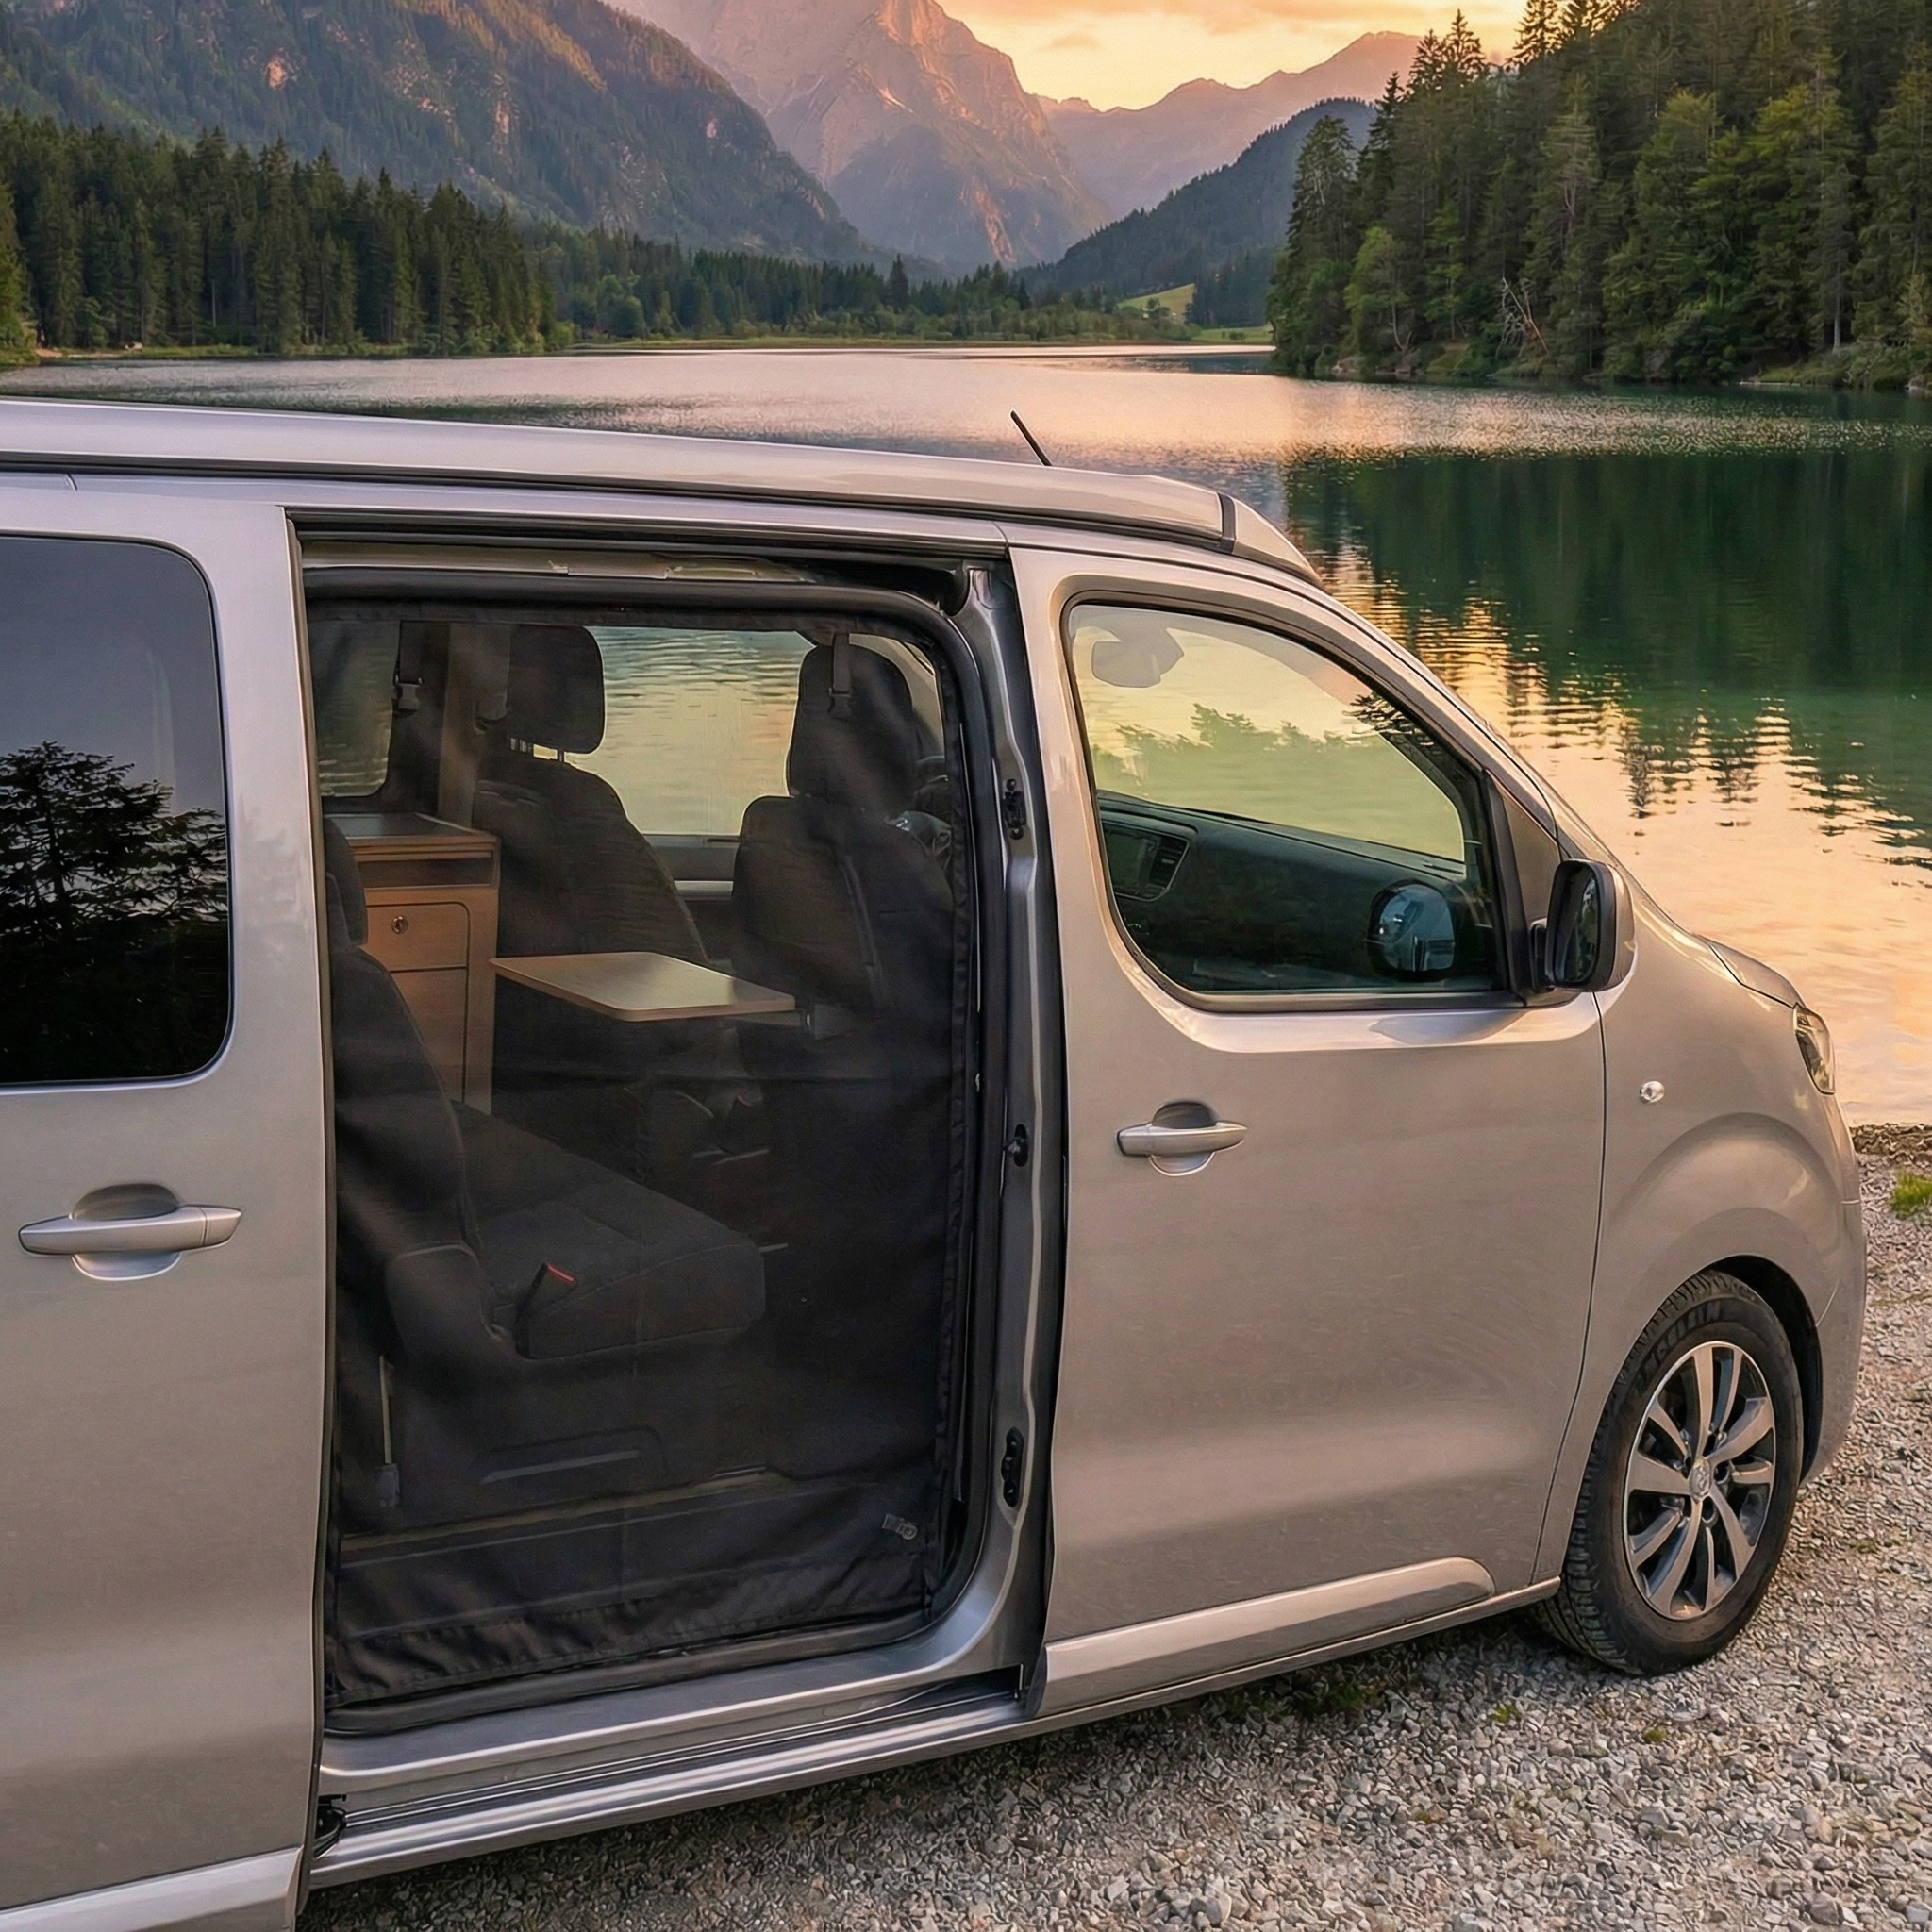
• Standard – full-door mesh screen
✔ basic insect protection
✔ maximum airflow and light transmission
✔ ideal for regular summer travel and camping
The screens are also compatible with Citroën Spacetourer, Toyota Proace Verso and Opel Zafira Life in both L1 and L2 versions.
What you get:
• Effective insect protection — fine mesh helps keep even small mosquitoes and flies out.
• Unrestricted ventilation — natural airflow is maintained while sleeping or relaxing.
• View outside — the mesh does not significantly obstruct the view out of the vehicle.• Side opening— zips on both sides for opening and closing
• Easy installation without modifying the vehicle — fitted beneath the weather seal, with no drilling or gluing.
Step-by-step installation:
*Illustrative video guide here:
Discussion
Be the first who will post an article to this item!